This documentation is for our Clientify–Odoo integration.
Integration entities
- Contacts
- Companies
- Odoo Contacts <> Clientify Companies
- Odoo Contacts <> Clientify Contacts
- Odoo Products <> Clientify Products
- Odoo Products <> Clientify Products
- Odoo Sales <> Clientify Orders
- Odoo Sales Lines <> Clientify Order Lines
- Webhooks
Questions and answers
No, records are not deleted automatically. To remove an item, you must delete it manually on both sides.
ODOO CONTACTS <> CLIENTIFY COMPANIES
Each contact’s reference (document/ID number) is used to uniquely link the records.
| Odoo | Clientify |
| display_name | name |
| name | business_name |
| ref | taxpayer_identification_number |
| phone | phone |
| street | street |
| city | city |
| state | state |
| country | country |
| zip | postal_code |
ODOO CONTACTS <> CLIENTIFY CONTACTS
The reference of each company-type contact is used to uniquely link the records.
| Odoo | Clientify |
| Status in Clientify | status |
| name or display_name | first_name |
| Client type | Current client |
| ref | taxpayer_identification_number |
| mainPhone | phones |
| mobilePhone | phones |
| street | street |
| city | city |
| country | country |
| zip | postal_code |
ODOO PRODUCTS <> CLIENTIFY PRODUCTS
Each product’s SKU is used to uniquely link it with Clientify.
| Odoo | Clientify |
| name | name |
| list_price | price |
| sku | sku |
ODOO SALES <> CLIENTIFY ORDER
| Odoo | Clientify |
| contact | Uses the contact fields |
| Always confirmed orders | status |
| date_order | order_date |
| name | order_id |
| ‘Odoo’ | ecommerce |
| currency | currency |
| Sale Line | items |
ODOO SALES LINES <> CLIENTIFY ORDER LINES
| Odoo | Clientify |
| name | name |
| barcode | sku |
| price_unit | price |
| qty_to_deliver | quantity |
WEBHOOKS
Allows any creation or update of products, contacts, or companies in Clientify to be synchronized with Odoo.
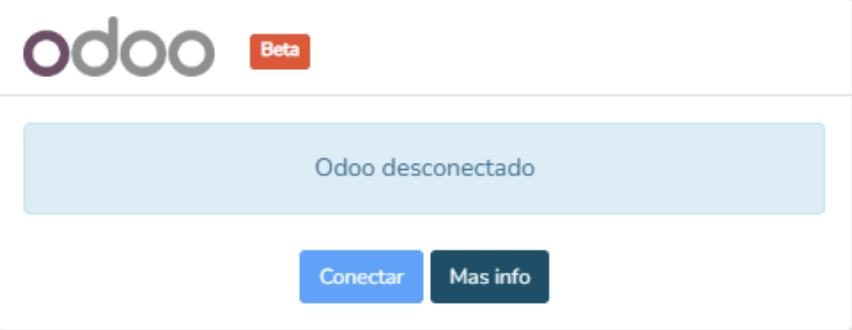
Connection process definition
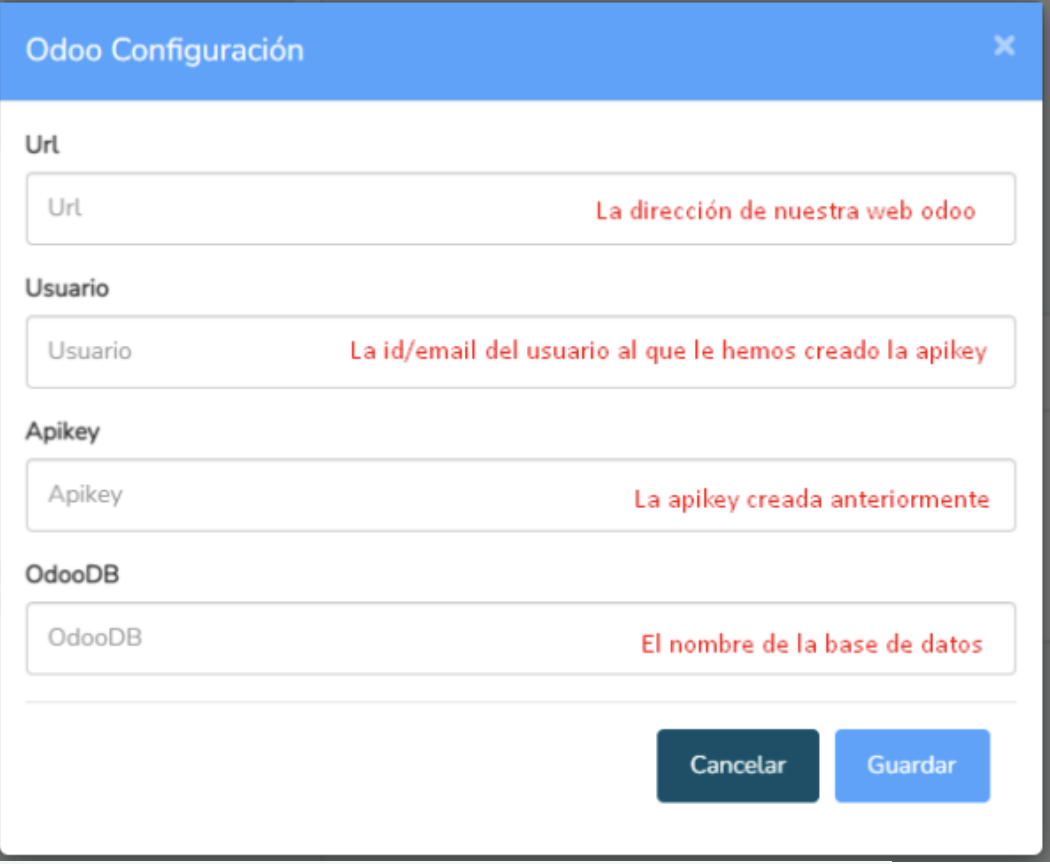
URL, User, API Key, and OdooDB
OdooDB:
add ?debug=1

APIKey
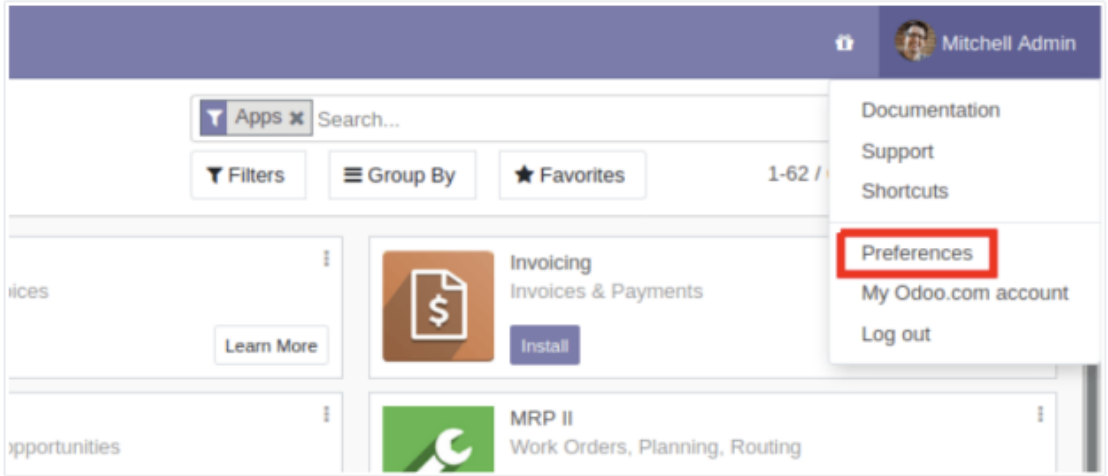
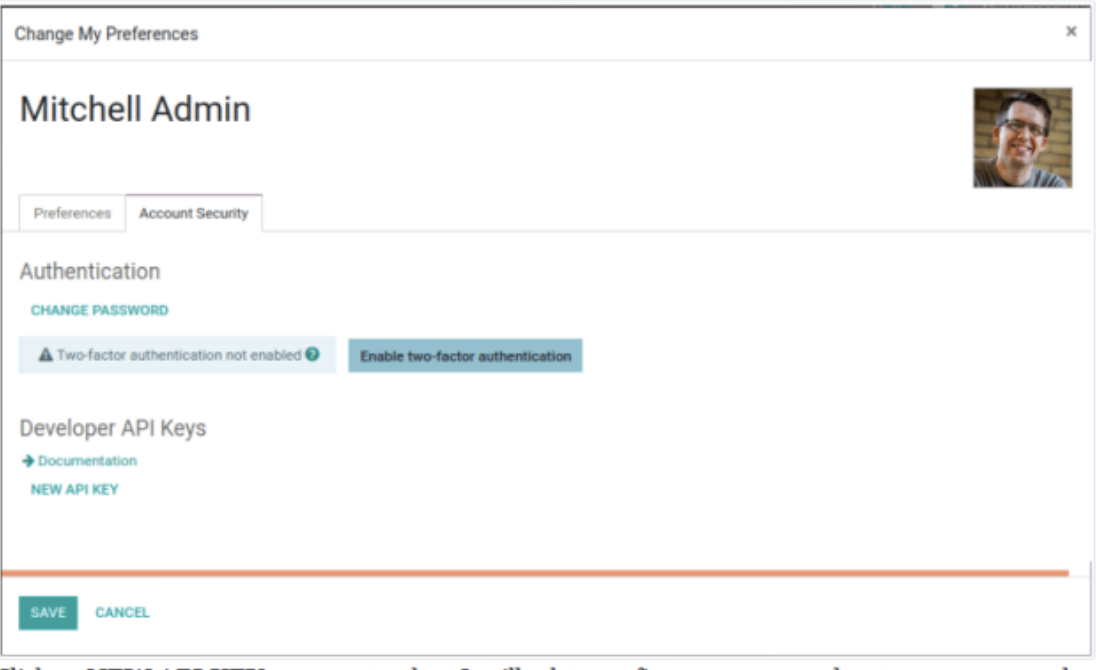
Preferences > Account Security > New
Type ‘Clientify’ as the name to generate a new API Key.
It is necessary to generate an API Key for an administrator user in Odoo, following the steps shown in the images below.
- Go to **Preferences** in the top-right corner, where you can see the user icon.
- In the **Security** tab, the option to create an API Key should appear.
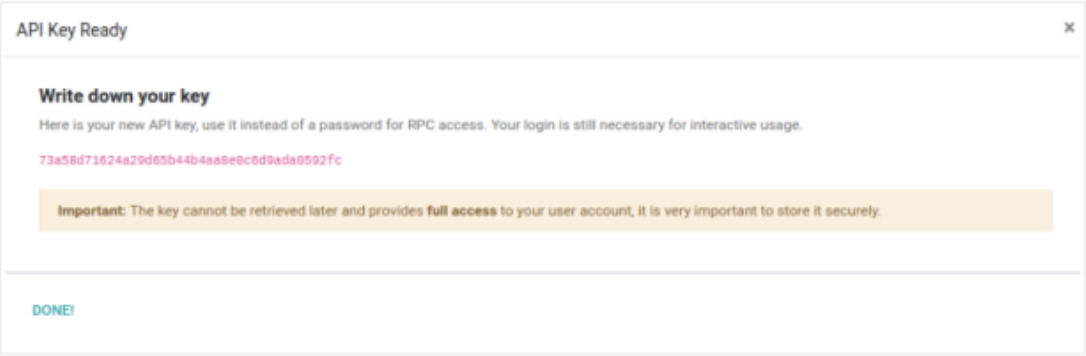
- Once created, it will be displayed on the screen. Make sure to copy it immediately, as if it’s lost, you’ll need to generate a new one.
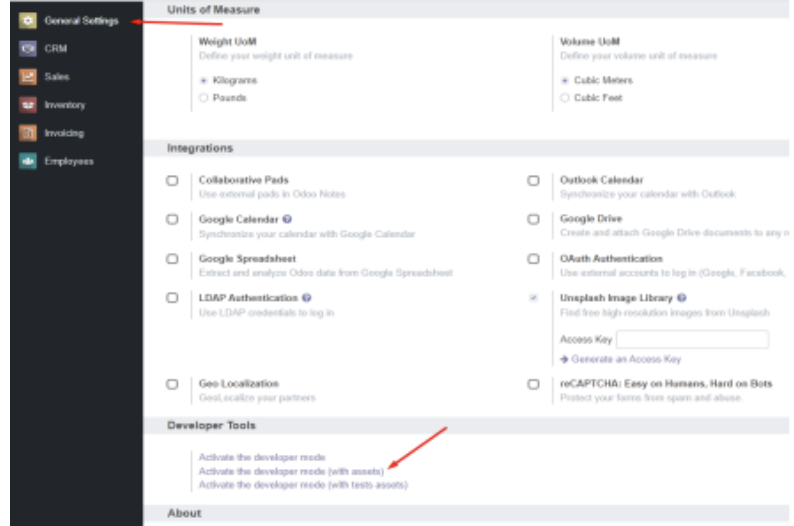
- The next step is to obtain the name of your Odoo database.

By clicking at the top on:
Settings → Settings → General Settings ,
at the bottom, you’ll see an option labeled “Activate Developer Mode.” Once you click it, the page will reload, and the database name will appear in the top-right corner, in parentheses next to the username.

Well, now that we have the API key and the database name, go to the Integrations tab in Clientify and click on the Odoo card. Then simply fill in the following fields and click Save. If everything is correct, a confirmation message will appear, and the integration will be activated.
ODOO COMPATIBLE VERSIONS
This integration was developed on Odoo 14 and should generally be compatible with all Odoo versions, as they use the same protocol. However, very old versions may experience some compatibility issues.